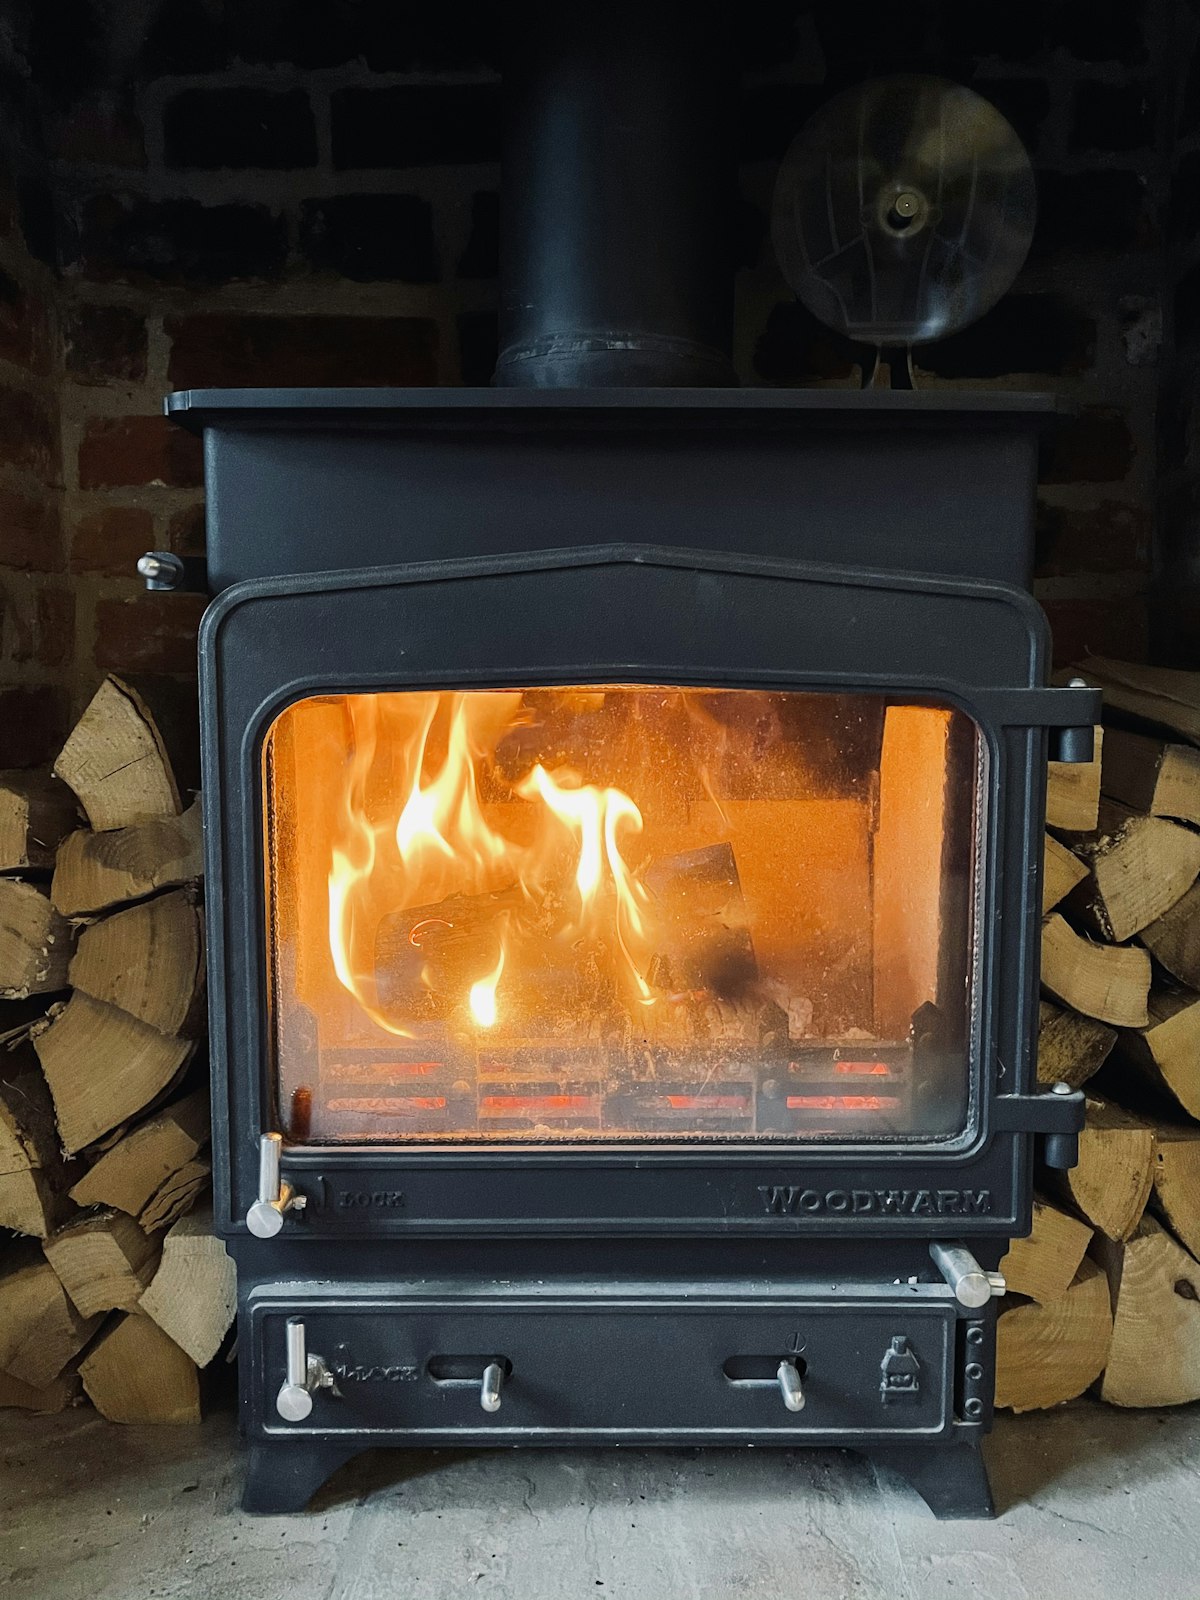
A log burner that catches first time is one of the most satisfying things about owning one. A log burner that takes twenty minutes, smokes, and goes out twice before it gets going is one of the most frustrating.
A log burner that catches first time is one of the most satisfying things about owning one. A log burner that takes twenty minutes, smokes, and goes out twice before it gets going is one of the most frustrating.
The difference is almost always technique and wood quality — both of which are straightforward once you know what you're doing.
This guide covers the whole process: the right wood, the right method, and the common mistakes that slow people down.
Key Takeaways
→ Dry kindling is the single most important factor — damp kindling is the main reason fires fail to light
→ The top-down method is easier and produces less smoke than the traditional method
→ Fully open the air vent before lighting; don't close it too soon
→ Kiln-dried softwood (pine, spruce) is the best kindling choice for reliable fire-starting
→ Never burn treated, painted, or recycled timber in a log burner
What You'll Need Before You Start
Before you light the fire, have these ready:
Dry kindling — finger-width pieces, softwood, under 20% moisture content
Firelighters — natural wood wool firelighters are the most reliable
Two or three dry logs — kiln-dried hardwood for the main fuel
Matches or a long-reach lighter
Heavy-duty gloves — for handling logs and tending the fire
The most common reason a log burner won't light easily is damp wood. If your kindling or logs feel heavy for their size, or if they've been stored outside without cover, give them more time to dry before using them.
Step 1: Clear the Firebox
Remove any excess ash from previous fires, but leave a shallow layer (about 1–2 cm) if you have it. A thin bed of ash acts as insulation for the new fire and helps it establish more quickly. Completely empty fireboxes can be slightly harder to start.
Remove anything else — old newspaper, partially burned logs from the last fire — that isn't dry, clean wood.
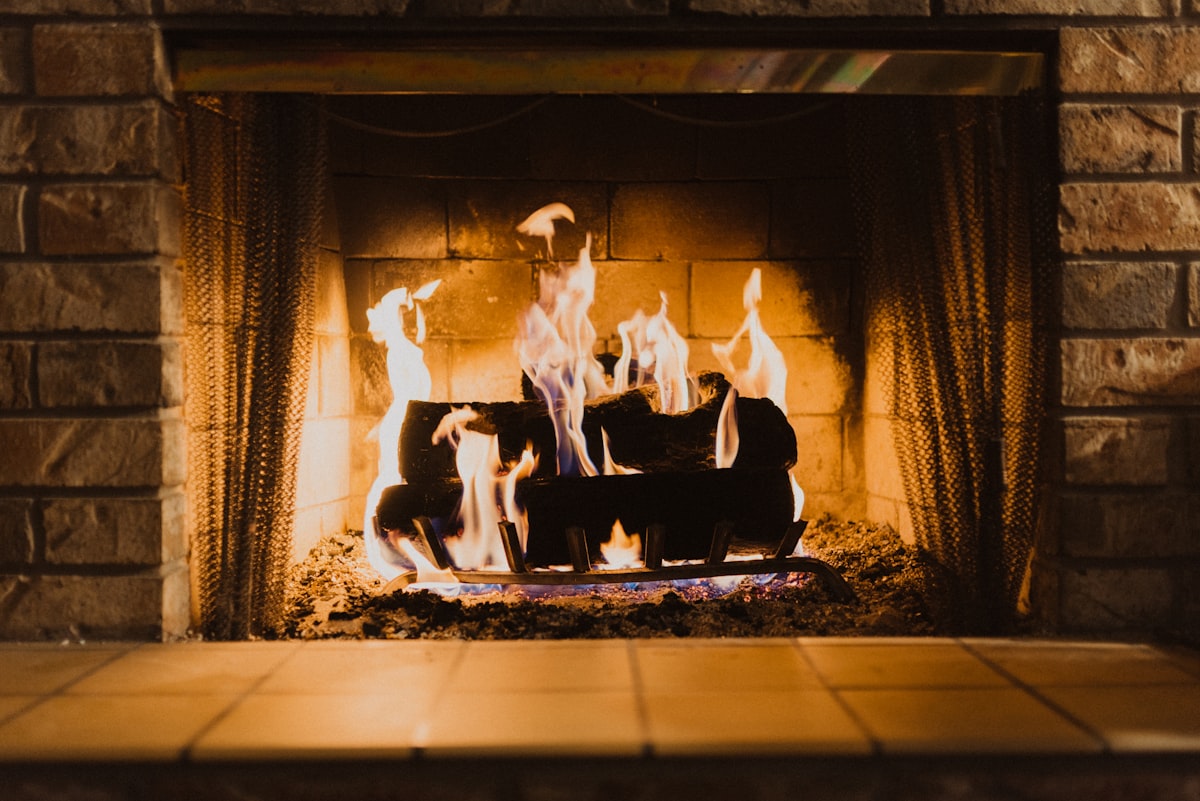
Step 2: Lay the Fire (Top-Down Method)
The top-down method — larger logs at the bottom, kindling on top — produces less smoke and is easier to manage than the traditional method. Here's how to lay it:
Place two small-to-medium logs parallel across the bottom of the firebox, leaving a gap between them
Lay two or three pieces of kindling across these logs, perpendicular to them
Place your firelighter on top of or between the kindling
Add a second layer of kindling over the firelighter in a criss-cross pattern
The fire starts at the top and burns down through the layers. As it does, the heat rises — preheating the logs below before they're needed. The result is less smoke, less relighting, and a more established fire from the start.
Step 3: Open the Air Vent Fully
Before you light anything, open the primary air vent completely. Log burners need a strong draw of air to establish the fire. If the air is restricted at the start, the fire struggles to catch and you get smoke.
Leave the vent fully open until the fire is well established — at least 10–15 minutes into burning. Don't be tempted to close it early.
Step 4: Light the Firelighter
Light the firelighter with a long-reach lighter or match. Close the log burner door, but leave it slightly ajar for the first minute or two — this gives extra oxygen while the fire finds its feet.
Watch that the kindling catches. You should see the fire spread from the firelighter outward and downward within a few minutes.
Step 5: Wait for the Kindling to Establish
Give the kindling 5–10 minutes to burn through and transfer heat to the logs below. Don't interfere at this stage — opening the door, adjusting logs, or closing the air vent too early can slow things down.
The fire is establishing when you can see flames and glowing embers, not just burning kindling.
Step 6: Add Your First Log
Once the kindling has burned down and the base logs are glowing or catching, you can add your first additional log. Open the door slowly — this avoids a sudden rush of air that can disturb ash and smoke.
Place the log at the back of the firebox, on top of the base layer if there's room. Close the door.
Step 7: Adjust the Air Vent
Once the fire is burning steadily and your logs are catching, you can begin to reduce the primary air vent. The goal is to keep a bright, active flame without burning through wood too quickly.
Most log burners have a primary air vent (below the door, controls airflow under the fire) and a secondary air vent (above the door, controls the airwash that keeps the glass clean). Keep the secondary vent slightly open to maintain clear glass.
The Most Important Variable: Dry Kindling
Every step in this process depends on dry kindling. Damp kindling produces steam before flame, cools the firebox, and can prevent the fire from ever establishing properly.
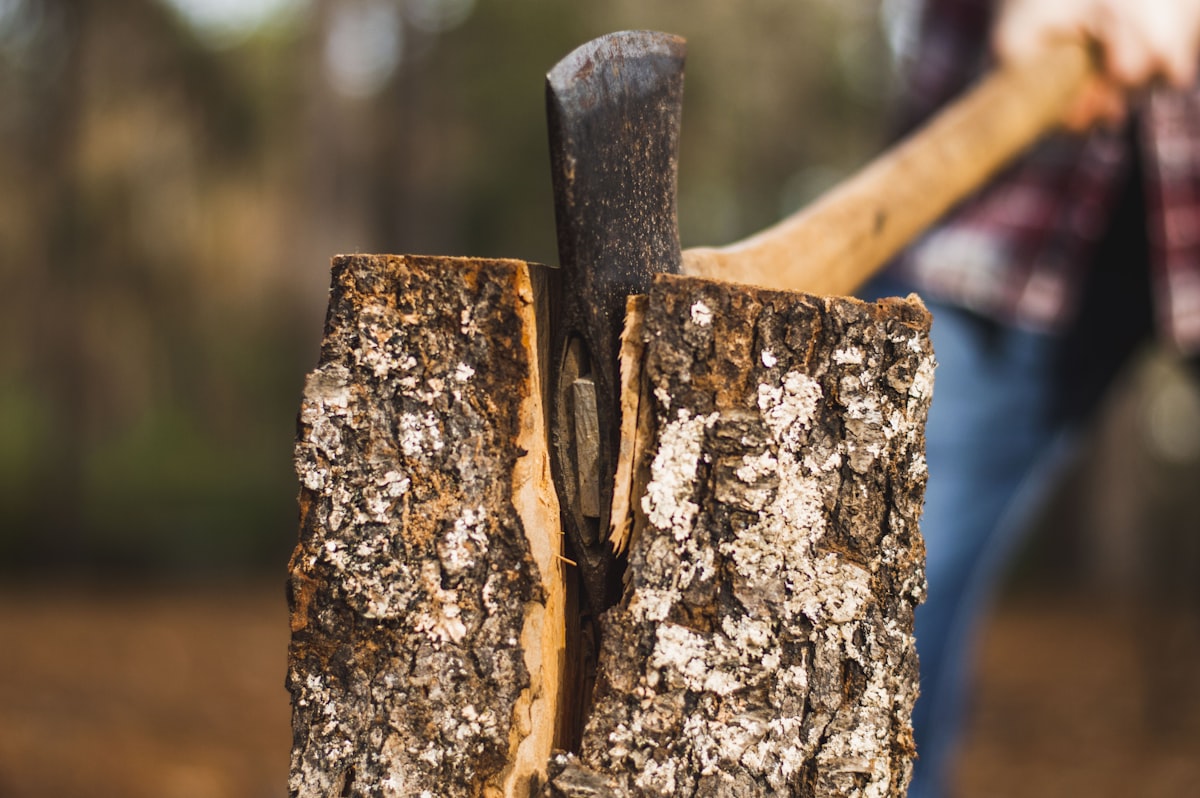
The ideal moisture content for kindling is under 20%. Kiln-dried softwood (pine, spruce, or larch) is the most reliable choice — it ignites quickly and burns hot enough to transfer heat to your logs within minutes.
Splitting your own kindling from kiln-dried logs or heat-treated pallet wood gives you a consistent, reliable supply. Skadi's wall-mounted design makes this quick and easy — see how it works here.
Common Mistakes That Slow Down Fire-Starting
Using damp wood. The number one reason fires fail. If it smokes immediately and struggles to produce flame, the wood is too wet.
Closing the air vent too soon. Restricting air before the fire is established starves it of oxygen at the critical moment.
Opening the door too quickly after lighting. Disturbs the early fire and lets smoke into the room. Wait at least 60 seconds before opening.
Using too little kindling. A small firelighter and two thin pieces of kindling isn't enough to bring a log to combustion temperature. Use 5–8 pieces of finger-width kindling as a minimum.
Overfilling the firebox. Two logs maximum in a standard-size log burner, at least to start. A packed firebox restricts airflow.
Burning treated or painted wood. Releases harmful fumes. Only burn untreated, kiln-dried or well-seasoned wood.
Choosing the Right Wood for Your Log Burner
For kindling: dry softwood — pine, spruce, or larch. These ignite quickly and generate the heat needed to bring hardwood logs to combustion temperature.
For main fuel: kiln-dried or well-seasoned hardwood — oak, ash, or birch. Hardwood burns longer and hotter than softwood and produces more heat per kilogram.
The key specification for both: under 20% moisture content. Many UK firewood suppliers now display moisture readings; look for the Woodsure "Ready to Burn" logo as a reliable indicator of well-dried wood.
Conclusion
Lighting a log burner reliably comes down to two things: dry wood and the right method. Use dry softwood kindling, lay the fire top-down, keep the air vent fully open at the start, and give the fire time to establish before adding more wood.
The part that most people find awkward is producing enough good kindling consistently. Skadi takes that off the table — it's a wall-mounted kindling splitter that turns 10 minutes of work into a full week's supply of kindling. £99 with free UK delivery.
Frequently Asked Questions
Why won't my log burner light?
The most common reasons are damp wood (check moisture content — aim for under 20%), insufficient kindling, or the air vent not being fully open. If the fire lights but quickly goes out, the wood is likely too wet or the air vent is closing too soon.
How much kindling do I need to light a log burner?
Aim for 5–8 pieces of finger-width, dry softwood kindling as a minimum. More is rarely a problem; too little is the most common mistake. The kindling needs to burn long enough to bring your logs to combustion temperature.
What's the top-down fire method?
The top-down method places large logs at the bottom, smaller pieces and kindling on top, with the firelighter at the very top. The fire burns downward, preheating the lower wood before it catches. It produces less smoke and is more reliable than the traditional bottom-up method.
Can I use newspaper instead of firelighters?
Newspaper can help a fire start but burns very quickly and produces a lot of ash. Natural wood wool firelighters burn for longer, are more reliable, and give the kindling time to catch fully. For reliable fire-starting, firelighters are worth the small investment.
How long does it take to light a log burner?
With dry wood and the top-down method, a log burner should be producing heat within 15–20 minutes of lighting. The first few minutes are kindling; by 10 minutes the base logs should be catching; by 20 minutes you should have an established fire.